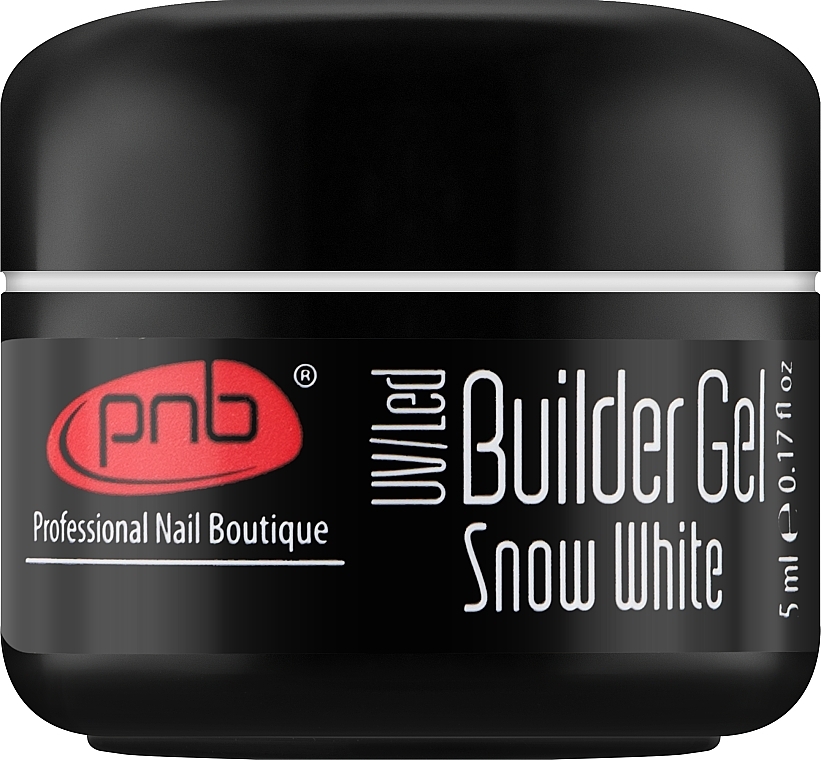
Camouflage Nail Gel, show white PNB UV/LED Builder Gel Cover Snow White
- Product details
- Description
- How to use
-
Age:
18+
Classification: professional
Country: USA
Made in: USA
Today's modern women have a thousand and one beauty salon services at their disposal, aiding them in getting quickly and efficiently groomed. Even an untidy, short, and completely unimpressive manicure can be transformed with extensions. The key is to choose a skilled technician who uses the innovative UV/LED Builder Gel Cover Snow White by the professional American brand PNB.
Its pure white shade will appeal to many for its versatility. The medium viscosity consistency is economical to use and easy to spread, thanks to self-leveling technology. This way, the transition from the natural nail to the artificial one is almost entirely smoothed out, making your manicure look extremely natural. The gel optically elongates the nail bed, corrects the shape of the nail plates, and also cures quickly under a UV lamp in 2 minutes, and even faster under LED in just 60 seconds. PNB uses exclusively high-quality materials for a flawless result of your work.
How to use: 1. Degrease the nail surface with Nail Prep. Push back the cuticle, remove the shine from the nail plate with a 180/240 grit file. Remove dust. Apply Nail Dehydrator.
2. Apply an acid primer, Acid Primer, or a non-acid primer, Bond Control, depending on the condition of the nail plate. Use Acid Primer when the nail plate is very moist; for normal conditions, the non-acid primer is suitable. Acid Primer should be applied with a semi-dry brush in a small amount, avoiding contact with the skin. The product evaporates from the plate on its own.
3. As a base, use the gel UV/LED Builder Gel Crystal Clear/Crystal Pink of your choice. Apply in a thin layer with rubbing movements. Cure in an LED lamp for 30-60 sec. 4. Sequentially set the template on each finger and lay out a thin base of the desired length and shape, sculpting the nail architecture with the gel of the chosen shade. To create an arch, you can pinch the gel at 7-12 seconds, depending on the lamp. Then, send it to the lamp for full gel curing for 60 seconds.*
5. Remove the residual stickiness with Gel Cleanser.
6. Perform a step-by-step filing with a 180/240 grit file.
7. Apply the finishing coat of UVLED Quick Top to add shine and protect against chips and scratches, curing for 60 sec.
*If the nail plate is thin and moist – the application of Bio Base as a base coat is possible. It should be applied in a very thin layer with rubbing movements on the pre-prepared nail, curing in the lamp for 30 seconds.-
1. Prepare the nail surface by degreasing it with Nail Prep. Push back the cuticle and remove the shine from the nail plate using a 180/240 grit file. Remove dust. Apply Nail Dehydrator. 2. Apply either Acid Primer or Bond Control, depending on the condition of the nail plate. Use Acid Primer for very moist nails, and Bond Control for normal nails. Apply Acid Primer sparingly with a semi-dry brush, avoiding the skin. It will evaporate on its own. 3. Use UV/LED Builder Gel in Crystal Clear or Crystal Pink as a base. Apply a thin layer with rubbing motions. Cure in an LED lamp for 30-60 seconds. 4. Place a nail form on each finger one at a time and apply a thin layer of gel to create the desired length and shape. Shape the nail architecture with the chosen gel color. To create a nail arch, pinch the gel at 7-12 seconds, depending on the lamp. Then cure the gel completely in the lamp for 60 seconds. 5. Remove the sticky residue with Gel Cleanser. 6. Shape the nails step by step using a 180/240 grit file. 7. Apply UVLED Quick Top as a top coat to add shine and protect against chips and scratches. Cure for 60 seconds.
*If the nail plate is thin and moist, you can use Bio Base as the base coat. Apply it very thinly with rubbing motions on the prepared nail and cure in the lamp for 30 seconds.


